
 Think about how many sinks you have in your house. They’re all over the place! Adding a copper sink to your kitchen, bathroom, or another part of your house is a great way to add style and class to your decorations. Now we’ll look at how to effectively care for a copper sink so that it will maintain its good look and last longer.
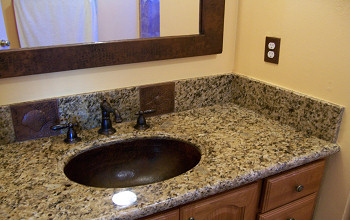
Copper sinks can add an attractive accent to any room, in a place where people often expect dull porcelain or brushed metal. Copper evolves with time as it reacts with its surroundings. You will notice that with time, your copper sink will look even more beautiful (or worse) depending on how you treat it. Ensuring that your sink improves its attractiveness with age requires proper cleaning techniques.
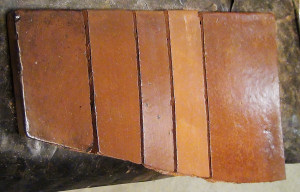
Copper sinks come into a variety of finishes, the most common finish colors are clear, dark brown, or a custom natural-red. The colors are created as a result of accelerating the aging process of the sink. To maintain that beautiful look of your copper sink, follow these instructions:
- Cleaners.You do not need to have any specific cleaners. In fact, if you use hard cleaners on a copper sink with a patina (weathered finish), chances are that you will hurt the surface of your sink. Use a soft cotton cloth to clean your sink. Avoid using hard chemicals too as they will damage your sink’s finish.
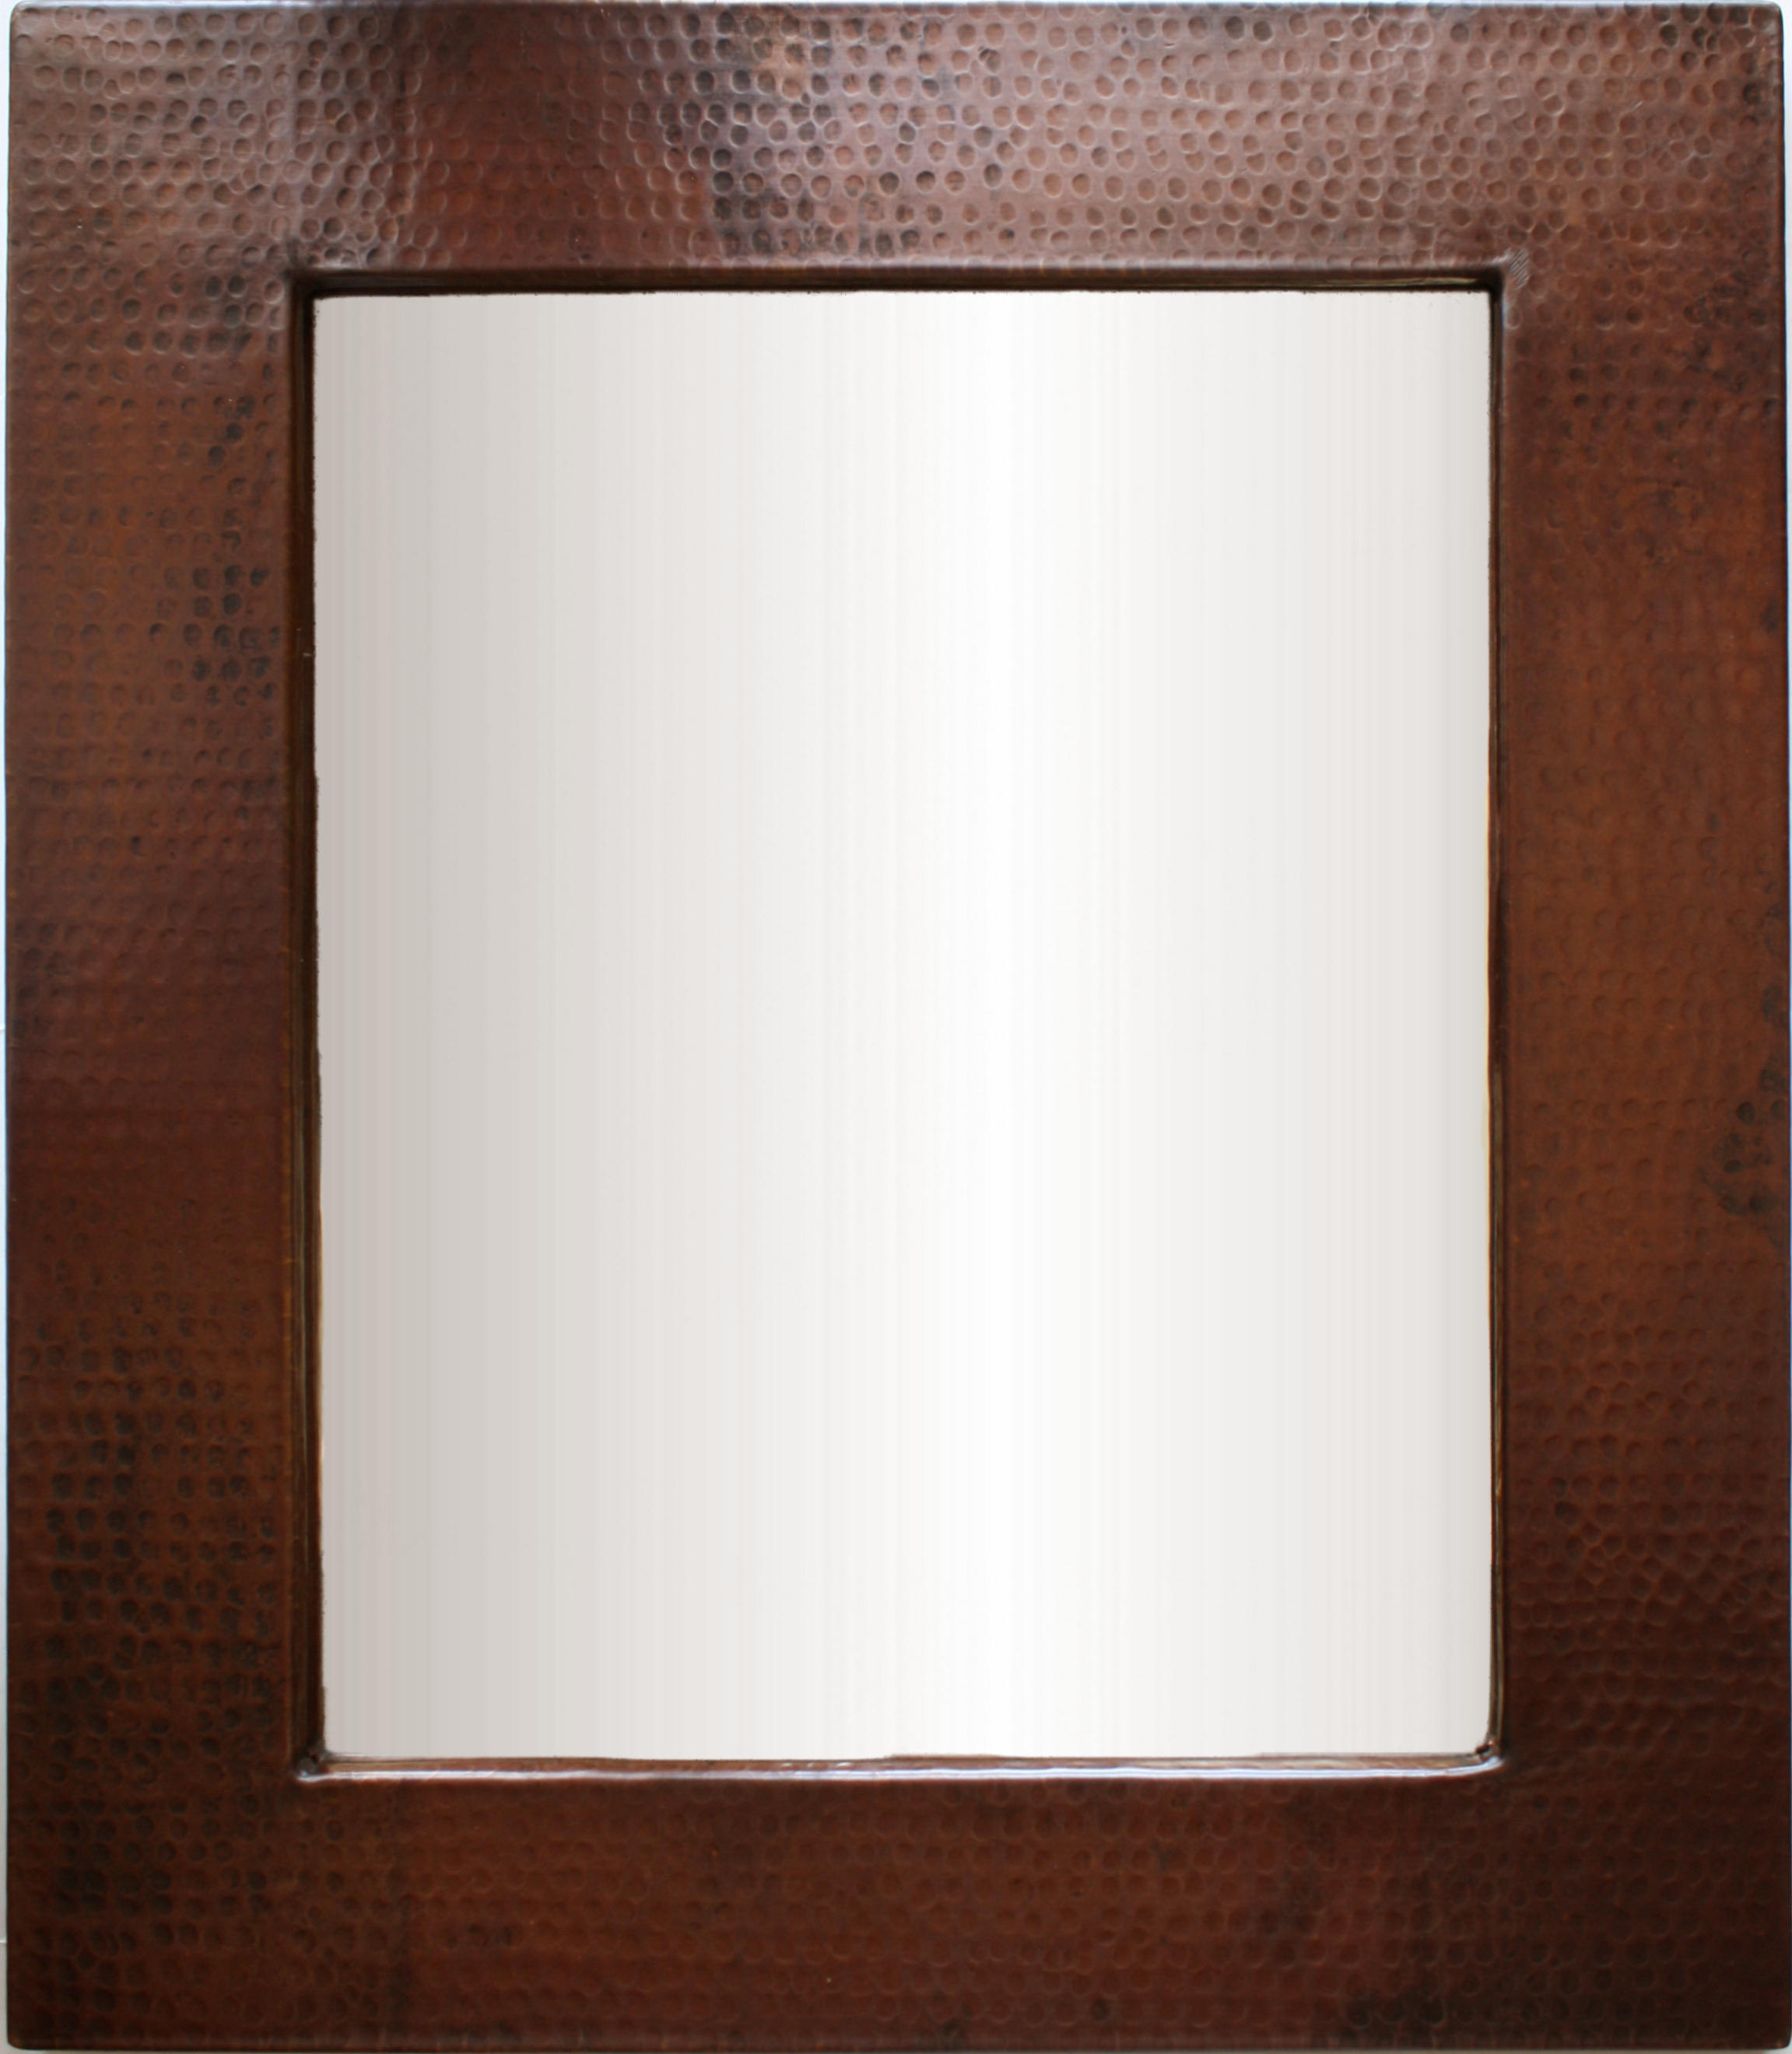
- Hard waterIf you happen to have hard water running through your tap, do your best to keep your copper clean. Dry it with a soft cloth after washing. Hard water gives copper sinks a spotty, unattractive appearance, especially on hammered copper sinks. To prevent this further, apply wax on your sink periodically. This will allow your sink maintain its luster.
- Acid foods. Avoid leaving acidic foods on your sink surface for a prolonged period of time. Foods like tomatoes, oranges, lemons contain acids that leave a shiny spot on the finish of your copper sink. If this happens accidentally, just wash the sink with soap and water and wait for the finish to recover its patina. The copper will age with time and the spot will gradually blend in with the rest of the sink.
For custom copper sinks with natural reddish color, the maintenance process remains the same as it is for dark and clear brown finished sinks. However, you are advised to apply lacquer regularly to help protect it and slow the aging process.
To maintain shiny and washed finishes on your custom sink, you will need to consistently care for your sink. An acid wash also helps in obtaining a beautiful bright look. Remember to rebuff and clean your sink with a copper cleaner regularly. If your sink is in a kitchen or another place where you don’t want to use copper cleaner, you can also make an organic copper cleaning product with equal parts lemon juice and salt. After cleaning your sink, protect it’s surface with wax coating. If you adhere to these instructions, your copper sink will continue looking beautiful and new.

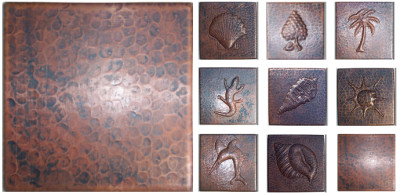
 Just think about the look given to your kitchen by a steel or ceramic sink. It’s totally different from that of a copper sink. Certainly, copper adds a plain, rustic elegance that none can surpass. Wondrously carved or embossed designs at the front or beautifully shaped front edges make it still more rustic and valuable. Further, it improves the overall appearance and breathes in a new life to the kitchen.

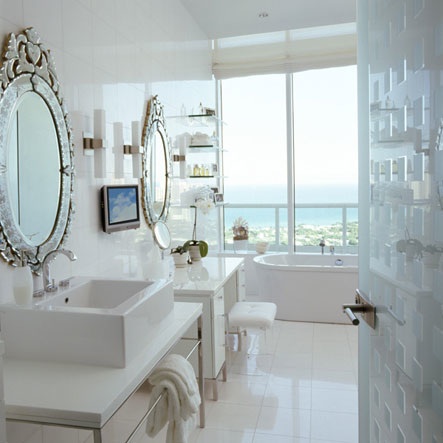 Generally, most wall mirrors are light weight and are easy to hang. How ever Venetian mirrors has a lot of weight making the decorative mirror a little difficult to hang. In a case where you don’t find your self handy, it might be worth hiring a professional handy man or carpenter to install properly your Venetian mirrors.If you are sure and confident enough that you have good handy skills, here are some tips how you can properly hang Venetian mirrors so it will be the best decorative mirror of your choice from all your wall mirrors.Most Venetian mirrors are already supplied with hanging wires and screws making it a little easier for hanging. But you will still need a hammer, hand drill or screw driver and some other tools to hang the decorative mirror properly. It is strongly recommended to have some one helping you while hanging the decorative mirror.
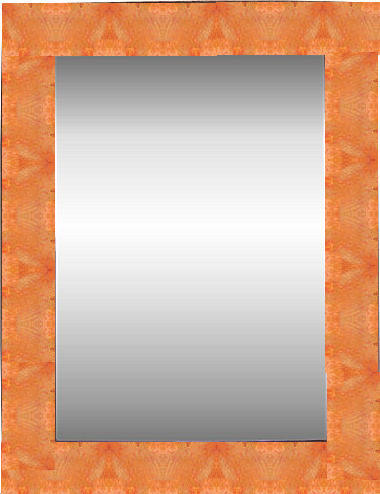 If you have a mirror and it either needs a frame or needs a new frame you can build one cheaper than it may cost to buy one. You will need some tools but it doesn’t take very much skill to properly build a frame for your mirror. You will need a saw, preferably a miter saw but a standard hand saw will be sufficient. You will also need wood glue, a hammer and small framing nails.The first step would be to making the base which will but the main support holding your mirror. Depending on the size of your mirror you may need different size wood to build your support. To build a 24 inch by 24 inch mirror I would use a ½-1 inch by 2-3 inch piece of wood. After you measure and cut the pieces of wood for your support you should lay it out how it will be constructed.
 A few days ago I received an email from one of the members of my e-letter. Her name was Karen. She wrote me to ask me for some information on wall mirrors. In her letter she asked me to give her an idea on what her options are in respect to the different types of wall mirrors. She was interested in what is available in wall mirrors with respect to mirror theme, style, framed, frame color, frame material, frame finish, frameless, shape, orientation, and any additional information which would help her in her search for several wall